PROBLEM: HERRING BONE OR TIRE-TRACK IMAGE
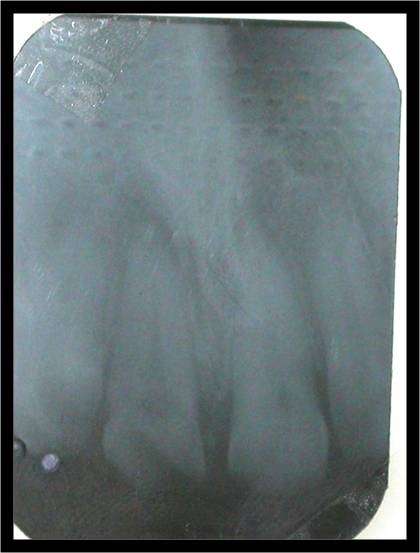
CAUSE: Film placed backward and then exposed. X-ray beam attenuated
by the lead foil backing in the film packet
ACTION: Always place the white side of the film adjacent to the teeth
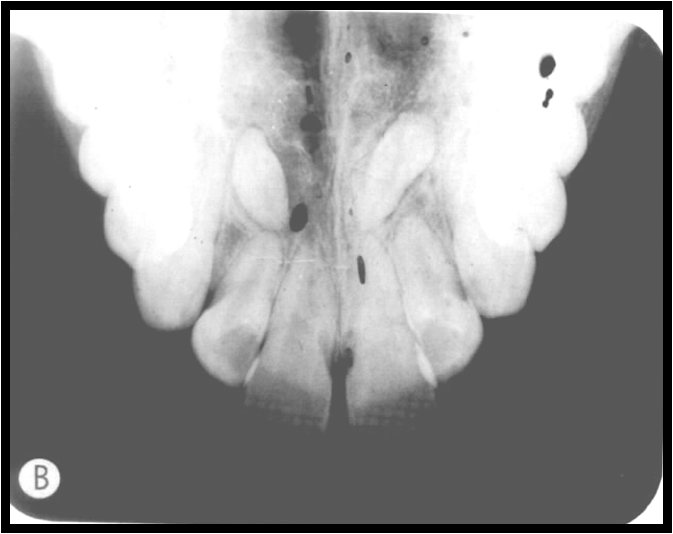
PROBLEM: PHALANGIOMA
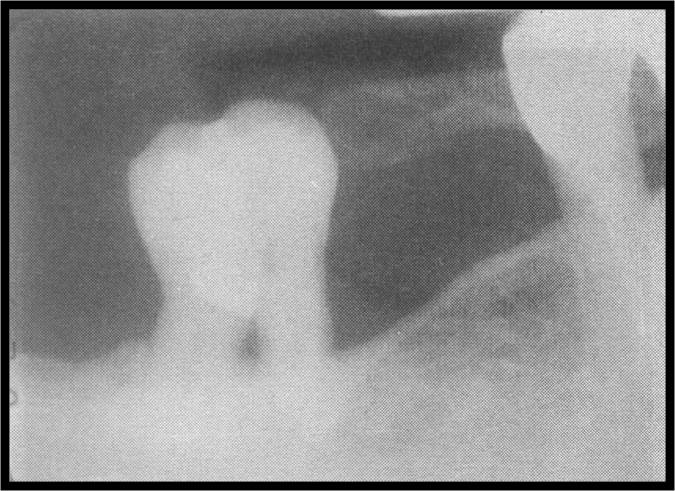
CAUSE: Pt’s finger incorrectly placed in front of film instead of
behind the film. Pt’s finger appears on film.
ACTION: Avoid a phalangioma, make certain that the pt’s finger used to
stabilize the film is placed behind the film and not in front
Processing problems and solution
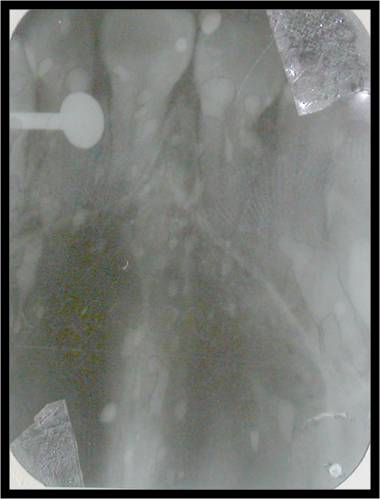
PROBLEM: LIGHT IMAGE
CAUSE: lack of mixing solutions to prevent stratification, temperature too low,
development time too short, inactive solutions (too old), depleted solution.
ACTION: Check thermostat,, development time, replace faulty thermometers and
replenishment frequency.
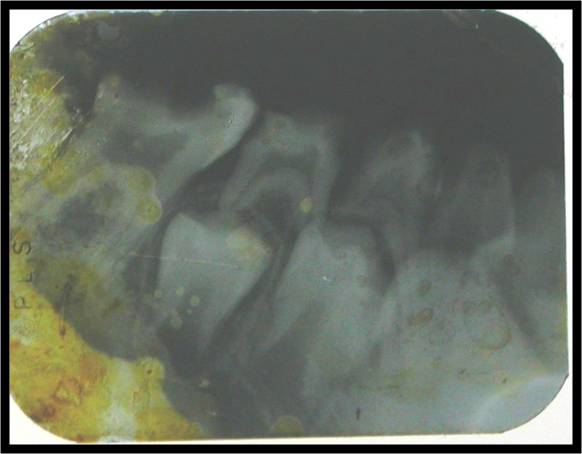
PROBLEM : DARK IMAGE
CAUSE : temperature too high, development too long,
Concentrated developer solution.
ACTION: Check thermostat, development time,
And replenishment frequency
RETICULATION OF EMULSION
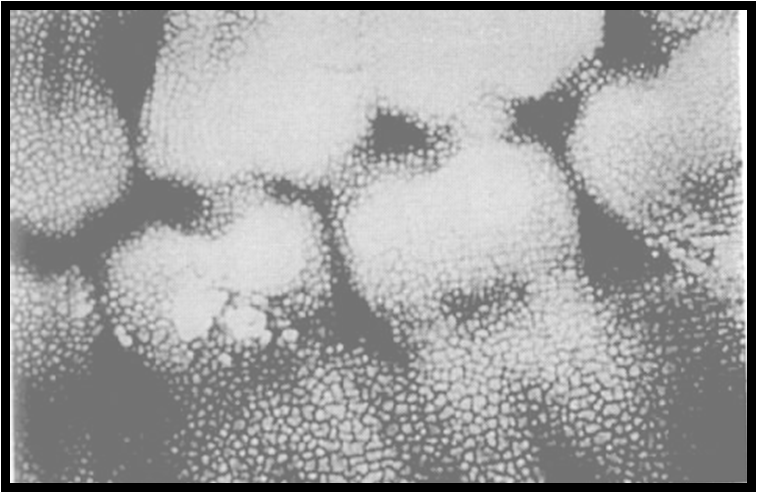
Cause: reticulation of emulsion results when a film is subjected
to a sudden temperature change between the developer
solution and the water bath
Action: check the temp of the processing solutions and water bath, avoid
drastic temperature differences between the developer and the water bath
PROBLEM : DARK SPOTS
CAUSE: Developer spots are seen when the developer solution
comes in contact with the film before processing
ACTION: Use a clean working surface in the darkroom, place
a paper towel on the work area before unwrapping films
PROBLEM : WHITE SPOTS
CAUSE: Fixer solution coming in contact with the film
before processing
ACTION: use clean working area in dark room, place a
Paper towel on work area before unwrapping.
PROBLEM : BROWN IMAGE
CAUSE: Oxidized developer, old developer, insufficient fixation
and insufficient rinsing
ACTION : Replenish or replace chemicals, check processing
procedure, use adequate fixation time and adequate rinsing time.
PROBLEM : WET IMAGE
CAUSE: Dryer not working, old fixer or lack of replenishment.
ACTION : Check dryer temperature, last time fixer was changed
and change or replenish if necessary
PROBLEM : GRAY IMAGE
CAUSE: Contaminated solutions, old solutions, lack of replenishment
Improper washing after exposure to chemicals
ACTION : Check replenishment frequency, last time solutions
were replaced and change if necessary. Pour
fixer first and then developer. When replenishing use caution not
to contaminate developer with fixer
PROBLEM : OVERLAPPING LINES
CAUSE: Films were processed too close together, dirty rollers
ACTION : Check processing technique
FILM HANDLING AND STORAGE ERRORS :
Ideal film storage temperatures are between 50 and 70 and between 30 to 50% relative humidity.
Any increase is known to cause increased sensitization of the film emulsion
Extra oral films should be stored in a vertical orientation to prevent pressure artifacts.
Failure to maintain these cardinal rules in the radiographic unit leads to production of lightâ€, warped images and artifacts like.
1.Tree like artifact — by static electricity (Dark tree like lines running across the film).
2. Smudge static – electricity produced by polyester clothing (Black smudges on the film).
3. Crescent or halfmoon – Fingernail (Dark cresent on film).
4. Finger print pattern – Dark finger prints on film.
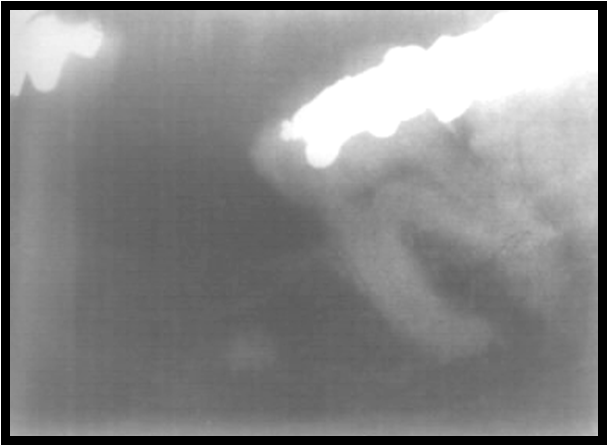
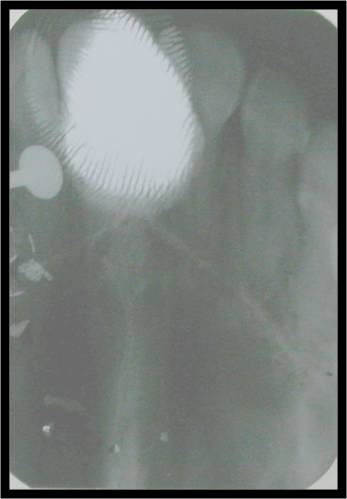
PROBLEM : TREE-LIKE ARTIFACT
CAUSE: Static electricity, static from clothing or carpet
ACTION : Use antistatic solution in intensifying screens, install
humidifier in processing room if necessary, stand on antistatic
pad while processing, and open cassette slowly
PROBLEM : SMUDGE STATIC

CAUSE: Static electricity, static from clothing or carpet
ACTION : Use antistatic fabric softener when drying clothes
PROBLEM : CRESCENT OR HALF MOONS
CAUSE: Rough handling of film, fingernail pressure, bending or
creasing
ACTION : Handle film gently
PROBLEM : FINGERPRINT PATTERN
CAUSE: Moist hands, touching film before processing, finger
contaminated with developer
ACTION : Wash and dry hands before processing films, handle
Film by edges only.
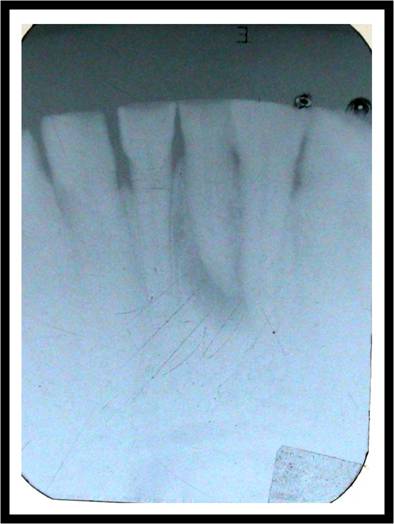
PROBLEM: DEVELOPER CUT-OFF
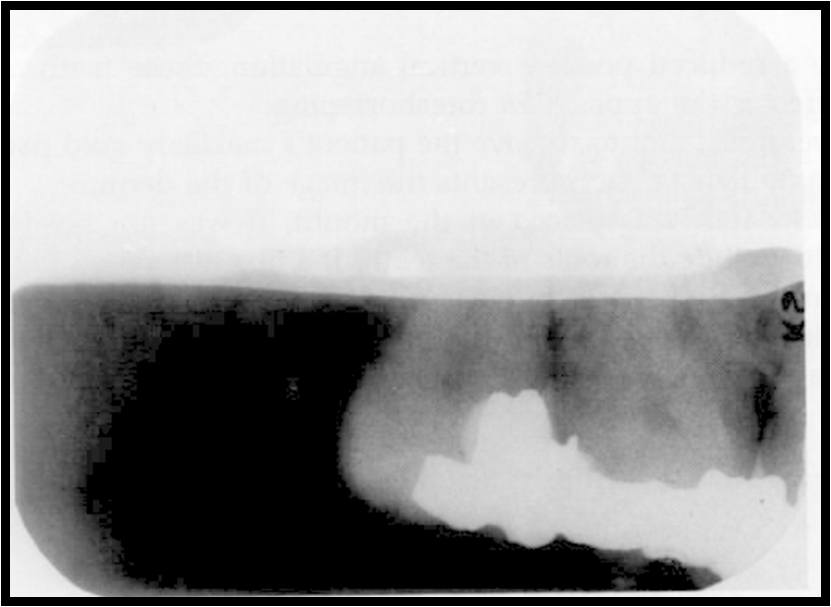
CAUSE: straight white border appears due to low level of developer
solution and represents an underdeveloped portion of film,
ACTION: Check the developer level before processing films, make
certain that all films on the film rack are completely immersed
in the developer solution.
PROBLEM: FIXER CUT-OFF

CAUSE: Straight black border appears due to low level of fixer
solution
ACTION : check the fixer level before processing films, make
certain that all film rack are completely immersed in the fixer solution
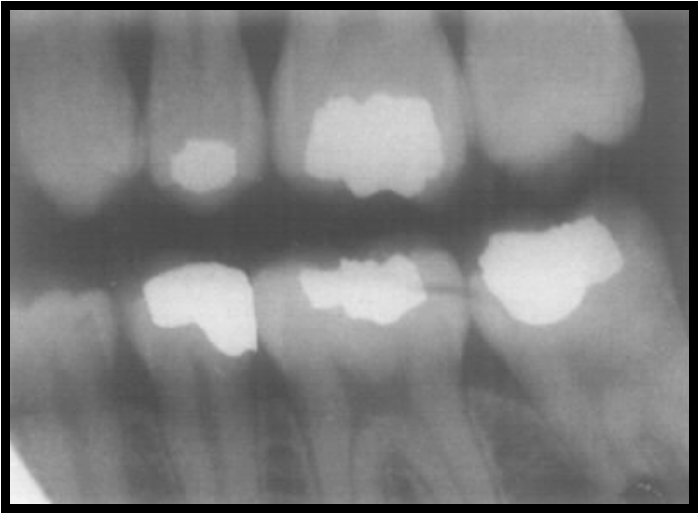
PROBLEM: OVERLAPPED FILMS

CAUSE: white or dark areas appear on films when two films come
in contact with each other during manual or automatic
Processing. Films overlapped in developer have white areas, in
fixer have black areas.
ACTION: Ovoid overlapped films
PROBLEM: AIR BUBBLES
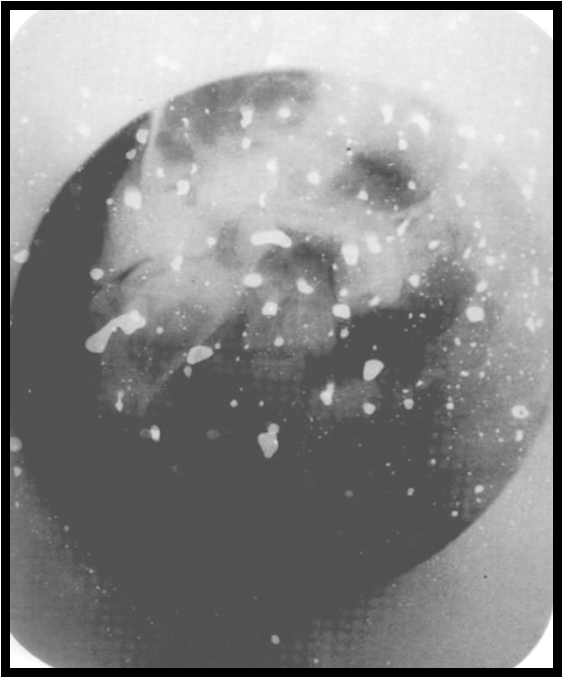
CAUSE: White spots appear on the film when air is trapped on the
Film surface after the film is placed in the processing solutions, air
bubbles prevent the chemicals from affecting the emulsion in that area
ACTION: Gently agitate and stir film racks after placing them in the
processing solutions.
PROBLEM : SCRATCHED FILM
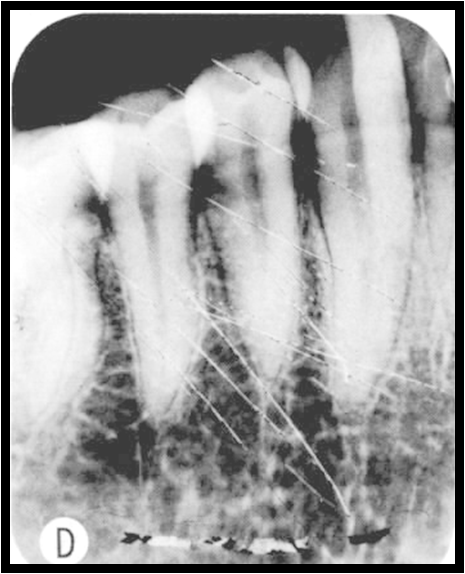
CAUSE: White lines appear when the soft film emulsion is removed
from the film base by sharp objects
ACTION: Use care when placing a film rack in the processing
solutions, avoid contact with other film hangers, sharp objects.