4. If possible, the tooth should be dried prior to cementation, but otherwise there is no caries removal or tooth preparation of
any kind. No local anaesthetic injection is given.
5.
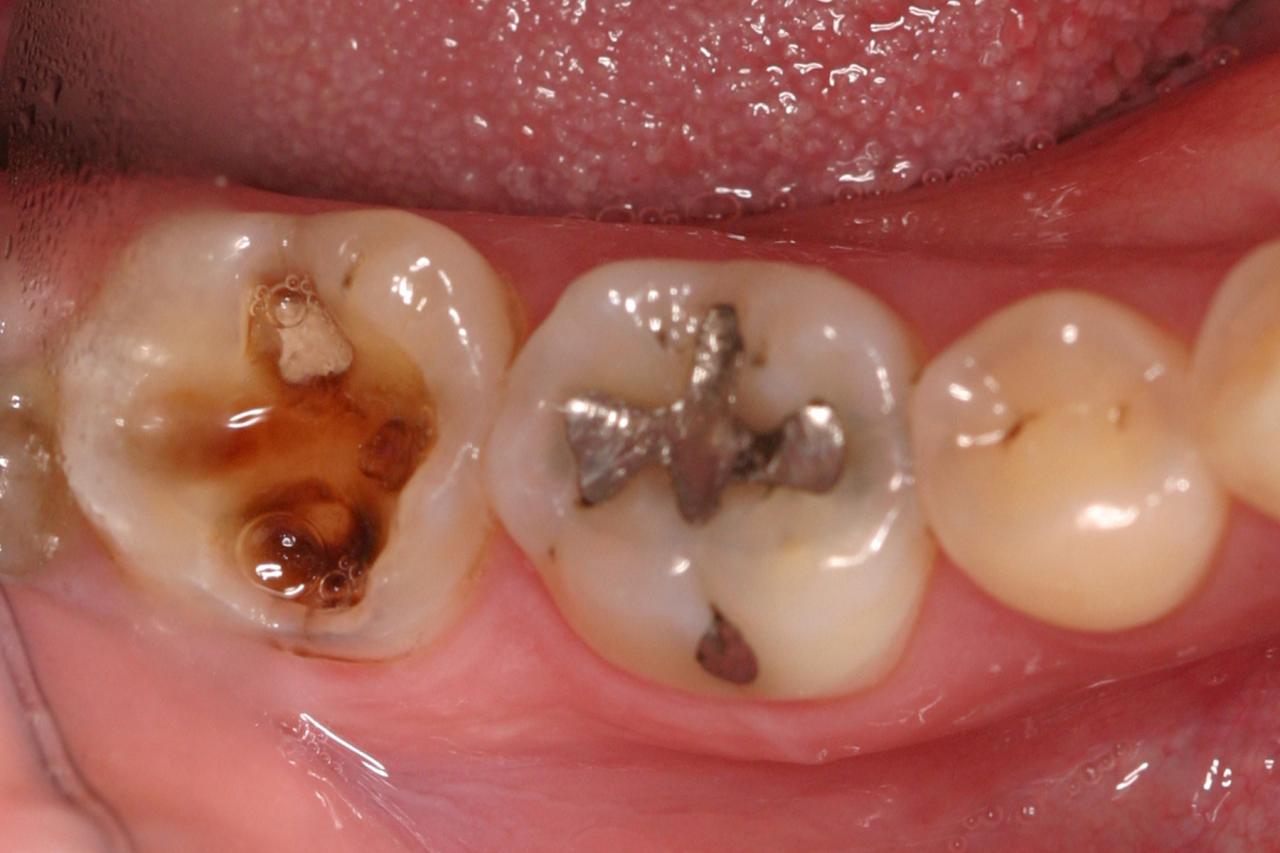
Large dental cavity
If the cavity is large, some cement may be placed within it, just before placing the crown.
6. Place the crown over the tooth. Fully seating the crown is a critical stage! It is not always easy, and requires a committed, positive approach from the clinician. The child needs to have complete confidence that you know exactly what you are doing; that what you are asking them to do is perfectly reasonable, and that it will not be uncomfortable. Remember that our research found that, surprisingly, most children do not find the procedure painful, and prefer it to conventional fillings. There are two main methods of seating the crowns:
a) the clinician seats the crown by finger pressure
b) the child seats the crown by biting on it
A combination of these two methods may be necessary or preferred.
Using finger pressure to seat the crown
Some clinicians will seat the crown with firm finger pressure alone. For mandibular teeth, a useful method is to place your thumb on the occlusal surface of the crown, with the four fingers of your hand placed under the border of the mandible to spread the force as you apply firm pressure with your thumb. For maxillary teeth, the child’s head may be supported by the back of the dental chair, or sometimes by placing your other forearm gently on the top of their head to balance the force applied by fitting the crown.
Often, the child will seat the crown themselves by biting it into place. It can be useful to verbally encourage the child to apply the necessary pressure (“Bite hard, like a Tiger! Grrrrr…..!), and to rehearse this before fitting the crown. If using this method, be aware that some children’s resolve might falter a little, leaving the crown not fully seated. Here, a timely “That was great! Now let me just check it for you! Ooh, well done, and I’ll just give it a little squeeze….., Excellent!†can save the day.

Glass ionomer luting cement has limited setting time
Some clinicians partially seat the crown until it engages with the contact points, allowing the finger to be removed without risk of the crown falling off, and the child then being encouraged to bite the crown into place. It must be remembered that your working time with glass ionomer cements is limited, and whatever method is used, you must work smoothly and efficiently. Crowns cannot be seated, no matter how hard you or the child tries, if the cement has started to thicken!
It is crucial that the orientation of the crown relative to the tooth is checked either during, or immediately after, seating the crown. If it does not appear to be going on straight, then you must give the crown some physical encouragement to go in the correct direction. If it is not possible to seat it then it should be removed before the cement sets.
With either technique, excess cement will be extruded from the crown margins, and the taste of this can upset children. In
anticipation of this, as soon as the crown is seated, the child should be asked to open their mouth, and the cement wiped off with a cotton wool roll held ready for this purpose. If a gauze swab has been used to protect the airway, this can be used to wipe away
excess cement from the lingual/ palatal side of the tooth as it is being removed.
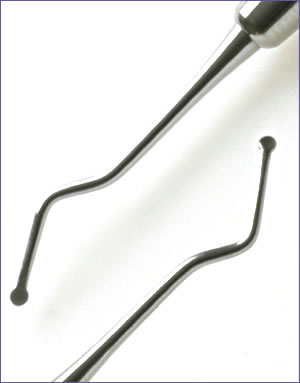
Excavator - used to removed seated dental crowns
If it is obvious that the crown has not seated, and finger pressure fails to seat it, then it should be removed immediately using the large excavator which you should have placed within easy reach. If you do not work swiftly, you may have to section the crown to remove it (see later).
7. Once excess cement has been removed, the child should be asked to bite firmly on the crown for 2-3 minutes, or the crown should be held down with firm finger pressure as an alternative. This is important, because the crowns can spring back a short way, sucking back the cement form the margins and potentially causing breaches in the seal.
8. Remove excess cement (beware, we have seen a few cases where a “shelf†of set cement has been left buccal to maxillary Es, and has remained there for several weeks), floss between the contacts and give the child a sticker.